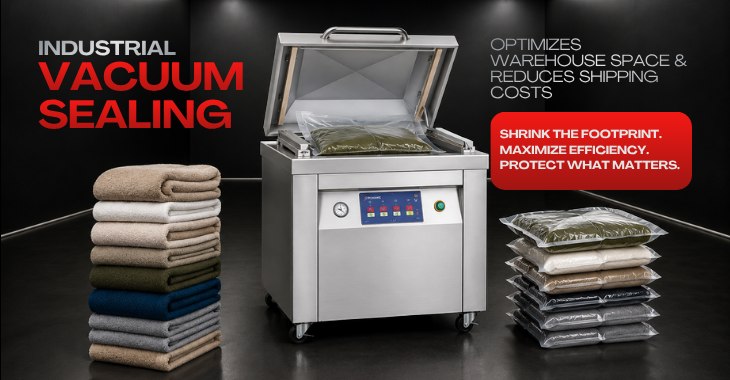
Vacuum packaging has become a very popular method among consumers for storing and packaging different supplies, and with each day its demand is increasing. However, many people are still in doubt about how exactly do the vacuum chamber sealers work? As what happens right before your eyes inside the chamber sealer, doesn’t exactly explains why it’s happening. Well if you consider each and every thing, you can easily divide the process cycles into about four steps:
Step 1: Placing the food
The first thing is to place the food inside suitable vacuum bag and place it inside the chamber sealer, making sure that the end of bag on the seal bar. Always make sure that the bag’s edges don’t extend out from the chamber, afterwards close the lid tightly to initiate the sealing cycle. A pro-tip would be to fold back the top of the bag. It is important to keep the top of bag clean as any unwanted food debris left at sealing spot can wreak the seal and cause the bag to leak during cooking. Folding back the opening of bag also makes sure that the food contents stay inside the bag and nothing spills out the bag.
Step 2: Vacuum Sealing process
After you place the food into the chamber close the lid, the vacuum-sealing starts. Solid foods can mostly be sealed by reducing chamber pressure to 5–50 mbar whereas fragile food items can be sealed at 200-500 milli bars. However the actual range of pressure which you should adjust on the machine depends upon the delicacy and sealing requirements of the item you are packing. The process starts by the pump slowly removing the atmospheric air out of the chamber and packaging, gradually dropping the pressure inside. Once the pump stops about 99.5% air has been flushed out. When the air gushes out of the chamber, the bag swells up inside the chamber as it is currently in a lower pressure environment.
Step 3: Using heat to seal off
At the end of the vacuum sealing process, the bag ends are sealed tightly by the heating of sealing wires, which cause the bag layers to melt and merge together. For most of available bags, two to three seconds are enough for sealing the bag. Again this is just a recommended amount of time, if you are using custom made bags or bags which are made of thinner or thicker plastic than the standard ones available in market, you will have to vary the sealing time accordingly.
Step 4: Refilling air inside the chamber
Once the vacuuming and sealing cycles are complete, a valve automatically opens and the chamber is re-filled with air restoring it to normal atmospheric pressure. Since the bag has already been sealed shut, and all air gushed out, the difference among low pressure inside the bag and higher atmospheric pressure of air causes the plastic bag to deflate and tightly wraps around the contents. After it’s done, the lid opens automatically.